 |
| Thanks so much for visiting! |
Thursday, May 31, 2012
Sending XO, Shaped Card Challenge
Wednesday, May 30, 2012
Go Nuts... Acorn Card

Thank you for visiting!
We Make a Great PEAR card
This is my second card for the shaped card challenge at Simply Less is Moore. I am having a blast with this challenge! So here's my card:
 This will be an anniversary card. The inside sentiment says ....We make a great "PEAR" Happy Anniversary! I started with a piece of folded greenish-yellow cardstock. Then while looking at a pear from my fruit bowl, I simply cut the pear shapes out with a pair of scissors. I cut a branch from dark brown cardstock, embossed it a wood grain texture and adhered it to the card base. I cut around the branch with scissors and used an Xacto to trim between the pears. I cut the leaves from patterned paper and adhered them to the card along with a few stems that I cut from brown cardstock. To make cardstock look more "pear-like" I chalked it with green and red chalk. I added a white pear shaped piece of cardstock that is slightly smaller than the card inside and printed the sentiment on it.

Thank you so much for visiting!
You're Fintastic Shaped Card
I am so excited about this challenge. What fun! The challenge at http://simplylessismoore.blogspot.com was to make a Shaped Card! Yes, not your average rectangle or square but a shaped card. I knew immediately what I wanted to do. I created a FISH SHAPED card.:

This card was pretty simple to make. I simply folded a piece of cardstock, cut out a fish shape and embossed it with my Fiskar's template. I used my computer to print the words "You're Fintastic" onto a piece of vellum, ran it through my Xyron and adhered it to the base. I added a bit of colored pencil around the edges of the bubbles to add definition and attached a black brad for an eye. I cut a smaller version of the fish from white cardstock to use inside the card as a writing space.
Thank you so much for visiting!
Monday, May 28, 2012
Embossed Flower Card for Lawnscaping Embossing Challenge

 I created this embossed flower card for the Lawnscaping Embossing Challenge . I began by dry embossing the yellow flower, sanding the raised edges and then cutting the flower from the cardstock. I used white embossing powder as a way to add highlight in the flower center. I cut the leaves from embossed paper, inked the raised portion with green ink and used an embossed mat (Core'dinations). To pull the colors together, I used red chalk lightly on the flower petals and used it more heavily in the center around the white. The buttons were adhered with pop dots and I used red wire for the stitching in the center of each.
Thank you for visiting!
You Rule...Happy Dad's Day, Three Challenges

 |
Studio Calico Sunday Sketch
|
Thank you for visiting!
Sunday, May 27, 2012
Flowers Everywhere

Thank you for visiting! Have a great day!
Friday, May 25, 2012
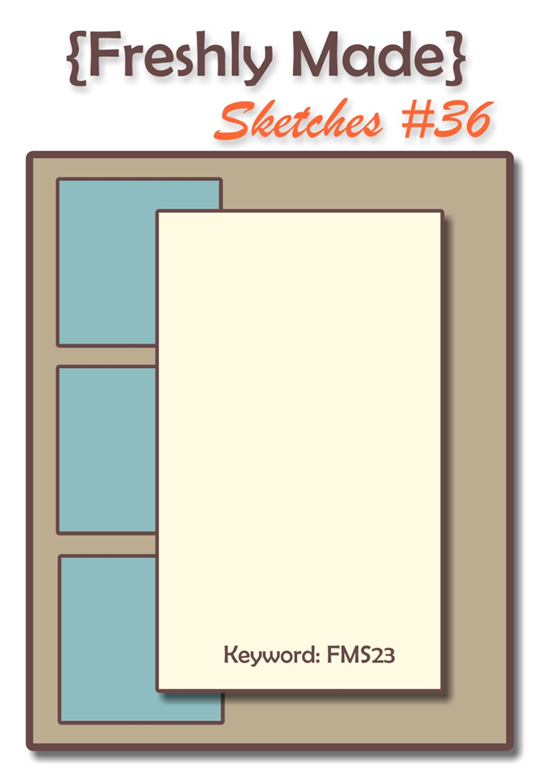
Thank You Star Card
I'm linking this next card to two challenges. The first challenge is the Freshly Made Sketch Challenge and the second is for the Lily Pads & Simon Stamps Star Challenge The card ended up being a little more simplistic then what I had intended, but it will work as a thank you. I used dimensional adhesives on the square frames around the stars, under the four largest stars and the layers under the thank you. I hand cut the letters for the sentiment so that they would match the color on the rest of the card. It is really hard to see, but I inked around the inside edges of the frames, around the kraft cardstock behind the thank you and the outside edges of the card. The ink was an orange color, but looks more yellow on the kraft cardstock. I really liked the sketch and attempted to use the same layout with the sentiment piece over the edge of the squares. It just didn't look right so I played around with them. I tried setting them at an angle and placing the sentiment portion over the edge of the frames. In the end I decided I didn't like the overlapped look with these elements and ended up settling for a cleaner look.

 |
Thanks for visiting! |
Thursday, May 24, 2012
It's Your Day, a Makeover Monday Challenge
I'm running a bit late this week as far as getting my card together for the Makeover Monday Challenge at Paper Crafter's Library. Andrea Walford created this card:


Like Andrea's card, I used a square card. I used a piece of dark blue paper and a star punch to create the "It's Your Day!" sentiment instead of using ribbon. With my limited embossing experience, I attempted to emboss the cupcake. The cupcake image is a new product for me. It is called Basically Bare. The frosting is canvas and the bottom is cardboard. The shapes came bare and ready to alter. So, I embossed the canvas frosting and added gems. I embossed the cupcake bottom as well, using an embossing pen to create the stripes and chalked between each stripe. I rolled paper to create the candle and added wire behind the frosting. If I made this card again, I would make a few changes. I would use dimensional adhesive behind the diagonal paper and the star strip at the bottom. I would also use brighter colors. It just doesn't have the feel I was going for and brighter colors might be the answer.

I used it as inspiration and created this card:

Tuesday, May 22, 2012
Circle Punch Card Cas-ual Friday #53

Thanks for visiting!
Best Wishes Cas-ual-Fridays Get Punchy
 |
| Best Wishes Card using floral punch |
Thanks for visiting!
Hot Air Balloon Slider Card


Saturday, May 19, 2012
Bright and Cheerful Thank You: Card Patterns Sketch 166
I have had a fun and busy weekend making a few cards. The following card is for the Card Patterns Sketch 166
The sketch was fun to work with and I decided to go with bright, bold colors. Instead of using ribbon at the top of the card, I crocheted a chain from black string and added wire loops to hang the banner.


The sketch was fun to work with and I decided to go with bright, bold colors. Instead of using ribbon at the top of the card, I crocheted a chain from black string and added wire loops to hang the banner.


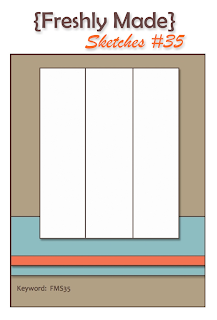
Freshly Made #35 Challenge: Red Floral Card
I decided to play along with Freshly Made Sketches this week and here's the card I came up with based on Sketch #35:


Monday, May 14, 2012
Candy Wrapper Flower
It's Monday, which means that Paper Crafter's Library has another Makeover Challenge. Today's challenge can be found here: Paper Crafter's Library Project Newsletter Makeover Challenge – Wonderful Friend When I stopped by the PCL blog today, I was thrilled with all the inspiration I found there and couldn't wait to get started on the makeover challenge. This card is my take:


The brown petals on the flower are actually made from candy wrappers. I was twisting one around in my hand yesterday and decided that I ought to keep it because I loved the color and texture of it. So after watching Tracy @ PCL create her makeover card, I had the perfect use for the candy wrappers.
Sunday, May 13, 2012
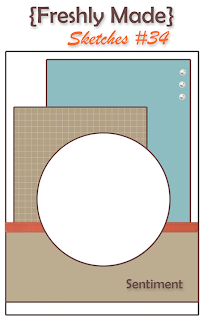
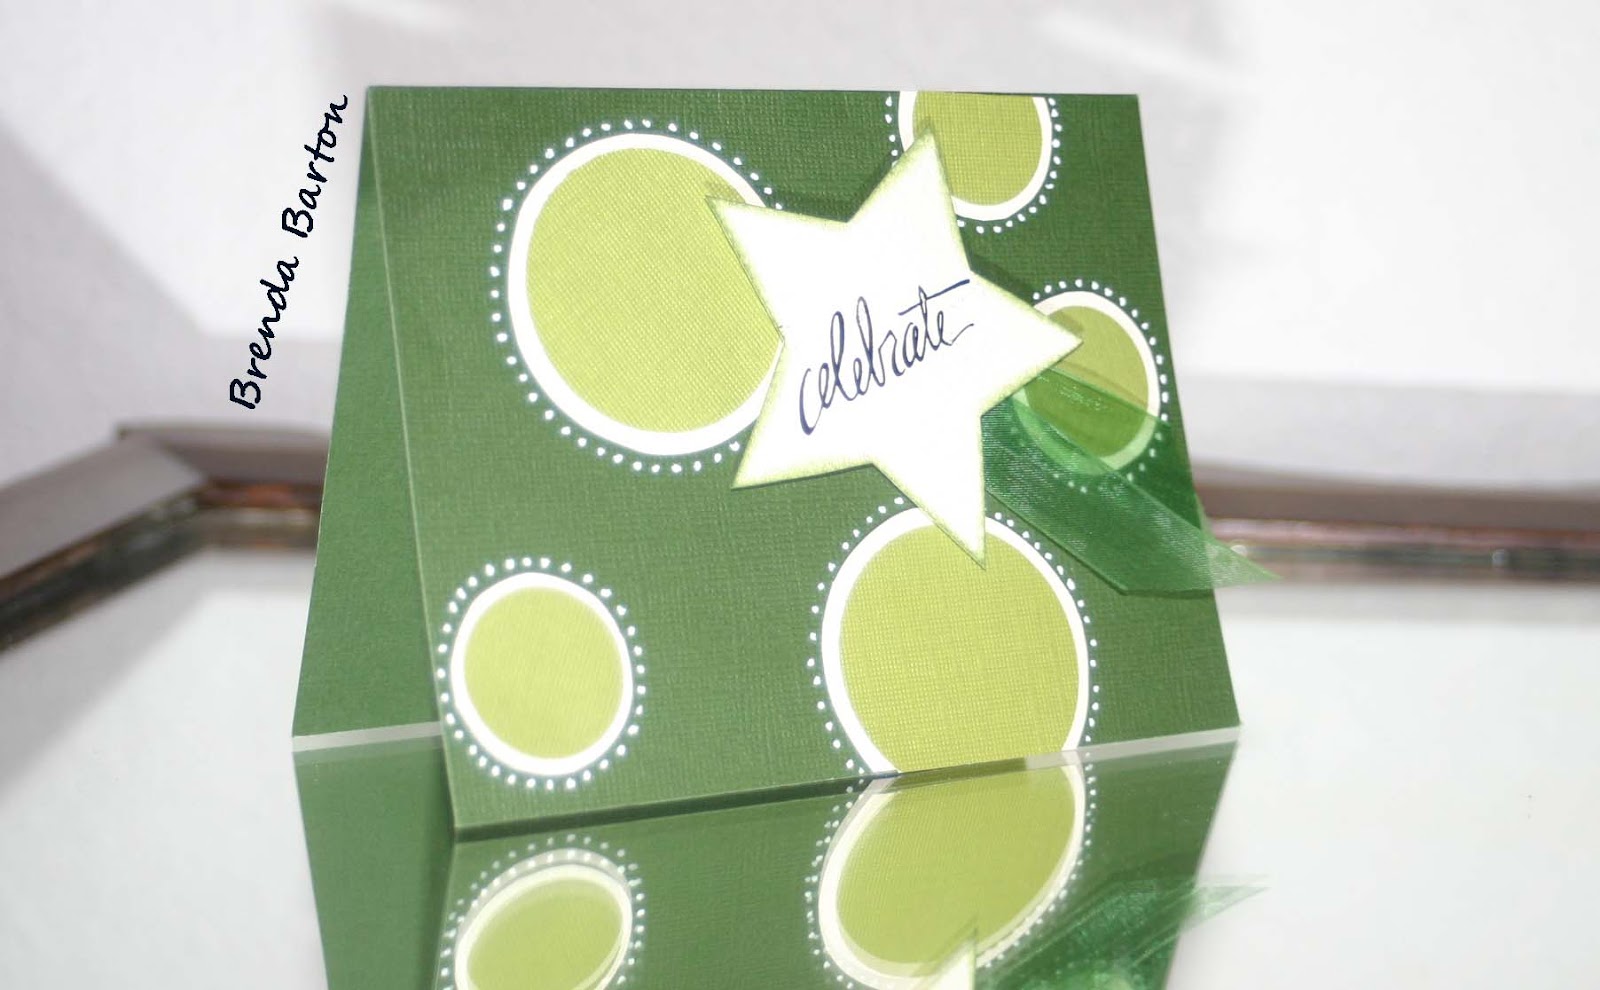
Embossed Celebrate Card for Freshly Made Challenge
I just made this card for the Freshly Made Sketch Challenge. Each week one member of the design team at Freshly Made, creates a sketch. The challenge was to use the sketch in my own way and to keep the project "clean-lined and fresh!" This was my first challenge at Freshly Made and I had a great time with the card. Here's the sketch and my take:


Gingham Hearts and Puddle Ducks
 |
| Gingham hearts card |
 |
| Puddle Ducks |
Wednesday, May 9, 2012
Challenges for NSD @ SCT
These are my projects for Scrapbook & Cards Today's NSD challenges. This was the first time I've ever participated in an online crop. The experience was phenomenal. I hopped around the internet, mostly between SCT and Big Picture Classes and it was an amazing adventure. I learned so much and was so inspired to create. I hope to do it again next year. Here are my projects:
 |
| Pagemap from SCT |
 |
| Pagemap Challenge
This was a really fun challenge. I think I am now hooked on using a pagemap, something I've rarely used. I changed it up a little because I had many photos that I wanted to include to help tell the story. I added two pockets to the right hand page with pull out pages. I put my extra photos on these pages.
|
  |
| Color Challenge |
The next project was a card for the Color Challenge. This color combination was fun to work with...very cheerful colors. I added a few gems to make it pop. I also used an EK Success punch to create the green border flowers and inserted colored flowers in the negative space left on the green paper.
 |
| Title Challenge
Coming up with a creative title was and is always a challenge for me. I spend way too much time trying to come up with just the right title. Deciding on the title and creating the tags made this a time consuming page. I used left over fabric from the shirts and origami folds to creative miniature shirts for the tags. Each tag represents a shirt that my son and I made last summer.
The next challenge, Embellished Pins was soooooo much fun....I might have gotten carried away just a wee bit! I loved coming up with the various bead and sequin combinations.
  |

 |
This Embellished pin was made with flower shaped sequins and sequin leaves.
|


 |
| This one made with red leaf shaped sequins, a silver flower sequin and an orange bead. The white is the top of pin. The photo on the left shows the colors more clearly. |
 |
| Here is one made with green wire, green beads, a white pearl bead and a green butterfly sequin. I haven't attached it to a project yet. |
 |
| These two were made from wire and flower shaped sequins. |
 |
| Embellished pins with various types of beads and sequins. |
Finally, here's my last project for SCT' s NSD challenges. It is a very simple card. I used my corner punch to round the corners and used the buttons to stay with the "round" theme.
 |
| Challenge: Use a Corner Rounder punch THANK YOU SO MUCH FOR VISITING! |
Monday, May 7, 2012
Makeover Monday Challenge for PCL May 7
 |
Inspiration for this card came from Paper Crafter's Library. Tracy did a make over card and this is what I came up with after watching her video. I changed the color palette to soft colors (with the exception of the purple). The layout is pretty much the same as Tracy's card except I did not use dimensional under the flower mat.
|
Sunday, May 6, 2012
Challenges for NSD: Big Picture Classes
Yesterday I participated in my first National Scrapbook Day. It was an incredible experience. I visited a number of blogs that were doing challenges and spent most of my day at Big Picture Classes and Scrapbook Cards Today. I learned so much and had so much fun. It is an experience I hope to repeat. I decided to submit some of the projects I made to the various challenges. The first projects are for Big Picture Classes.
My layout has a metal embossed frame. I used copper, silver and gold embossing metal. I included a place for hidden journaling and added embossed metal to the top of the tag. I pulled up the journaling tag so that it could be seen slightly. The mat behind the title and sub titles is actually foil paper. There are threes sets metal embellishments (maple leaf sequins) that don't show up very clearly.
In this layout, I reflect upon life with polio. The journaling is hidden in the pocket on the bottom right. There is a flower shaped mirror (to add another type of reflection) in the center of the Me and My Shadow arc. I took the photo of my legs as I was coming down the stairs. The sun was behind me and the shadow of my legs was on the floor below.
 |
| Challenge 1: Create a Fanciful Frame |
 |
| Challenge 3: Use Reflection, literally or figuratively |
 |
| Challenge 4: Use a Twine Technique
I was eager to do this challenge although I didn't have any actual twine. Instead I used Twistel and embroidery thread. I used orange and red Twistel and twisted them together to create the center of the flower. The petals were made from orange Twistel. I used two shades of green embroidery thread to create the leaves and stems.

Challenge 6: Use this Sketch
The Permanent Bubbles layout is my last project for the Big Picture Class challenges. This challenge involved using a sketch, which I followed pretty closely. I added the tags on the left so that I could include the bubble recipe and add additional journaling. There are still a number of challenges left. I hope to do a few more but I won't be submitting them to Big Picture Classes. I've already started working on a few challenges for Scrapbook Cards Today. |
Saturday, May 5, 2012
Birthday Cards- Casual Friday
I created these cards for Casual Friday Clean & Simple Birthday Challenge.
 |
| I liked the brightness of these colors. I created the dimensional flower from blue, red and green cardstock. I inked around the edges of each of the leaves, petals and red center. I added a yellow brad in the center of the flower. I added yellow chalk to the center on each petal (it looks green in the photo, but on the actual card it is yellow). |
 |
| To create the petals, I punched 1" circles from blue cardstock with an EK Success circle punch. Using a sticky note, I placed a circle on the sticky strip and stuck it back into the circle punch part way and punched the shape of the petal. |
 |
| For this card, I punched green circles, matted them with white cardstock and used a gel pen to add dots around them. |
 |
| I stamped the background of this card. First I inked a plastic ring (re-using one from my ATG adhesive). Then I used a pencil eraser to stamp the small light green dots. Finally, cut a larger circle from sticky backed foam, adhered it to the top of a pencil and stamped with darker green ink. |
Subscribe to:
Posts (Atom)